Recently, some teachers constantly inquire about how to record teaching video at home. After software assessment and evaluation of Smart Campus Construction Center has conducted, we want to recommend a screen shot tool which we hope to come in handy on this special day.
It is targeted at teaching activities such as elaborating on PPT or operating software; it can also be used to record teaching video and screen shot. Only teachers’ computer screens are recorded with teachers’ voice being aside; recording screen and teacher lecturing scene can also be recorded, thus students not only can see teachers, but they also see the contents on teachers’ computer screens.
Many screen shot software is in the market. This editor has assessed at least 10 kinds, and chosen one simple and easy Showmore screen shot software to recommend to every teacher.
Download and Install Document
Download Site:https://pan.baidu.com/s/18pSP0Gp-oHYvEuNWOk-FLg
Extraction code: 8g1f
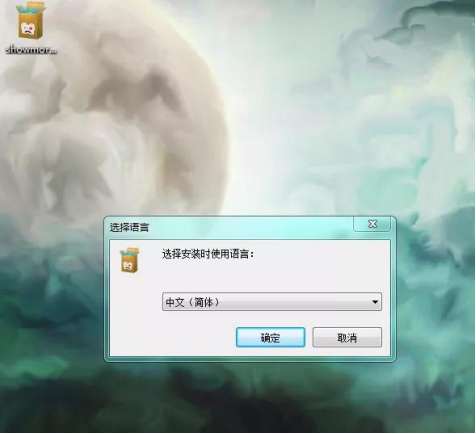
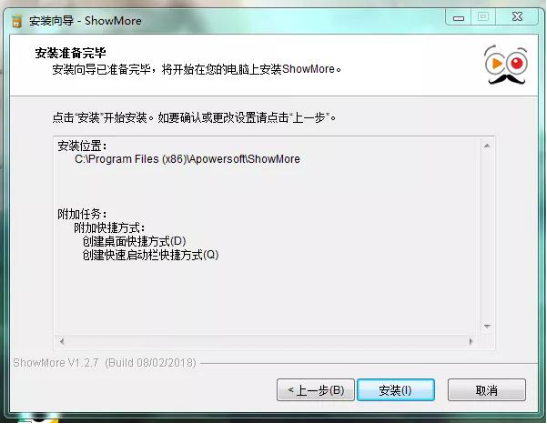
Click to install document, select language window released, and click confirm.
Click nonstop by default
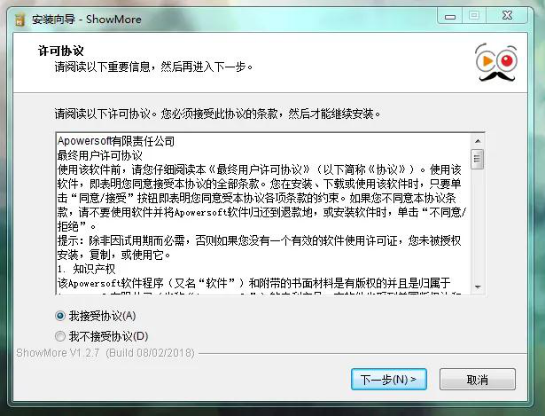
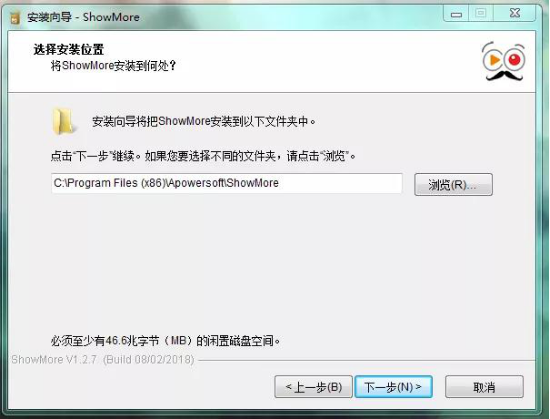
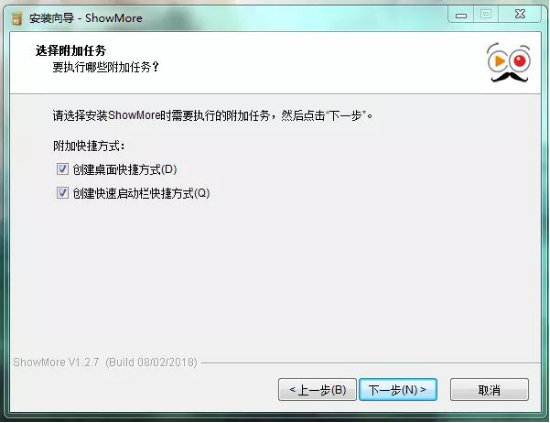
Click installation document.
Use Instruction
Click shortcut on the desktop.

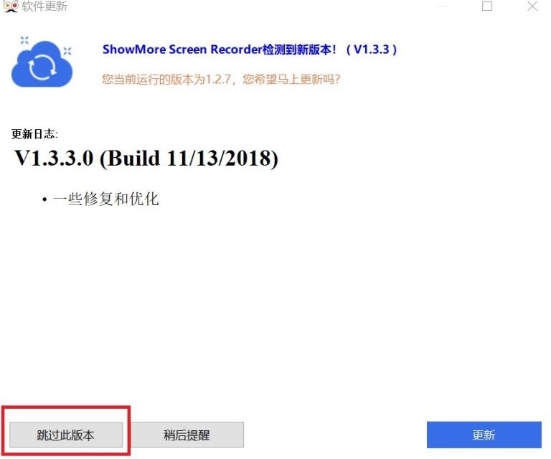
Select in pop-up upgrade information “Skip this version”, and be sure not to click upgrade.
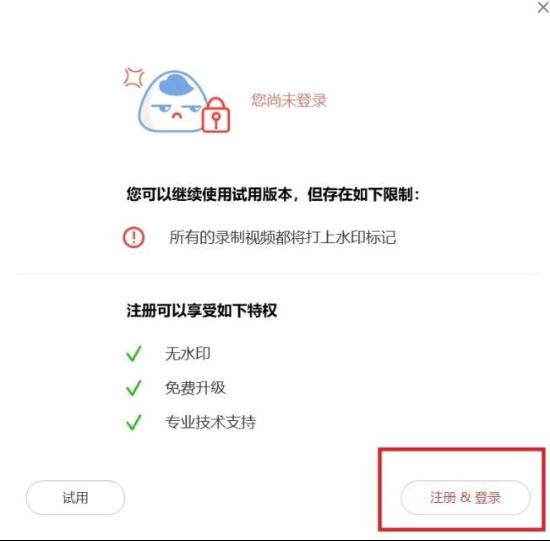
Select entry registry in pop-up registration information, and use we-chat to scan for a quick registry (If login and registry are unsuccessful, 3 minutes of recording is permitted).
Enter recording interface
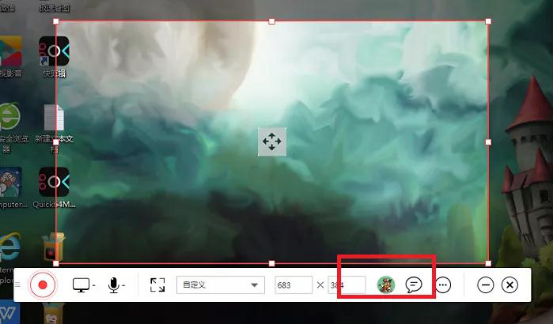
Check right recording column in the bottom recording page to display your head portrait, if it does not display, it means you have not logged on, click head portrait icon to enter.
Select Recording Screen Range
You may adjust the size of red box to decide for yourself the screen range, if a full screen is needed, click full screen icon right of microphone.

Select microphone and system sound
A pair of headphones with a microphone is suggested to avoid the distraction of too much noise.
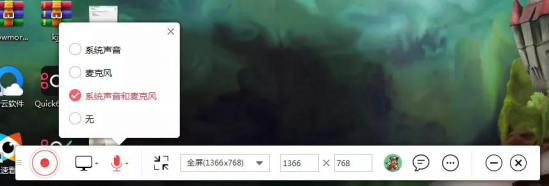
Click right red icon to begin recording.

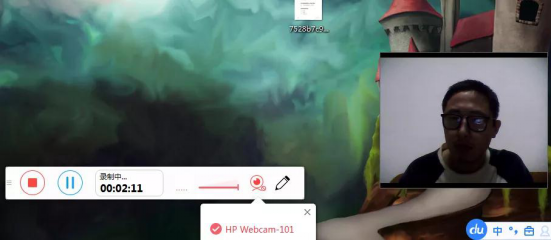
Now recording is on.
If you want to record lecturing head portrait, click camera (A desktop computer needs an external camera), this lecturer’s video will be displayed on the screen in the form of picture in picture while this picture can be minimized, maximized and dragged at random.
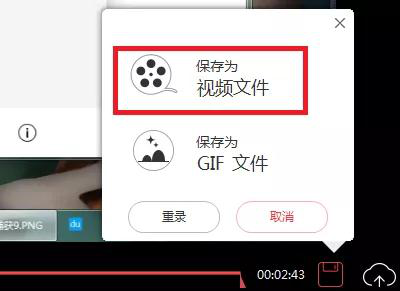
Recording Finished
Click recording column on the left red icon.
After recording is over, a subpage will be popped up, click save-video format in the right bottom corner, and set up mp4 format by default.
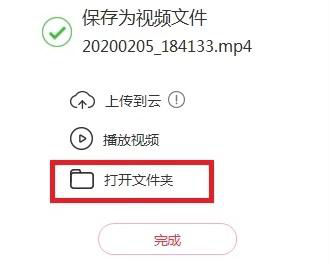
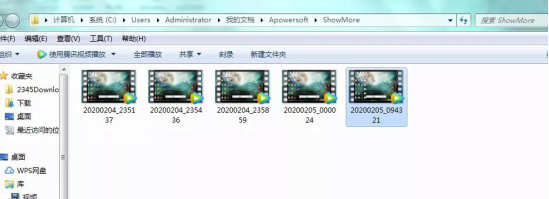
Open the folder and you can find the freshly recorded video
The above is a complete recording process. Isn’t it convenient? For those teachers who want to try to record teaching video at home may give it a try.


